Sunday, 23 February 2014

WINGED SMOKEY EYE | TUTORIAL


 Here is my first tutorial - and admittedly it didn't go quite as planned! I had taken photos as a step by step tutorial but annoyingly they all came out in appalling quality and didn't show the method clearly enough. So this tutorial will be more of a description rather than photos of me doing my makeup - many apologies!

The look I will be showing you today for a night out/party look, is the winged smokey eye, making the eyeshadow wing out in the corners and also some added techniques which create an illusion of a deeper eye. Enjoy!


1 - Creating the Depth Illusion
After priming your eyes (optional - I used the NARS Pro Primer), take a dark matte brown eyeshadow on a small flat brush - here I have used MAC's Charcoal Brown. Blend this into the crease of your eyelid/eye socket outline and blend to the outer edges of your eye and back down the sides of your nose. This will create an illusion of your eyes being bigger and deeper. Don't apply too much as you don't want to make your skin look too dark. If you are pale skinned I recommend using a lighter brown for this contouring.


2 - Blending
A fluffy blending brush is going to be an essential for this look. Two examples would be MAC's 217 brush or the Urban Decay Naked 2 fluffy brush end. For this look I used the Naked 2 brush as it was readily available as I was using the palette itself. Using this brush, blend/smudge the matte brown eyeshadow so it gives the effect of a natural shadow rather than a harsh line.


3 - The Wing
This part is how you create the winged look. I can't take credit for this as I've seen other bloggers using this method, but it's a very good one to use. So, taking approximately 4cm of Sellotape, stick it from the outer corner of your eye diagonal to the end of your eyebrow (avoid trapping your hair of any eyelashes). Don't worry, it doesn't hurt and is easy to peel off!


 4 - Eyeshadow Base
Now, using my Urban Decay Naked 2 Palette, I am taking the colour Snakebite, which is a dark shimmery brown, and sweeping it across my eyelid. Take it right to the edge where it meets the Sellotape so it covers your whole eyelid. The beauty of such a simple piece of tape is that any eyeshadow that accidentally goes out of your eyelid 'zone' will be peeled off at the end.


 5 - Eyeshadow Centre
Now for the centre of your eyelid you can use whatever colour you want as long as it compliments the base. My two choices would be either Busted, for a darker smokier look, or YDK which adds light and a more pigmented shimmer. Simply sweep an average amount over the centre of your eyelid with your chosen shade. After this take your fluffy blending brush and blend the eyeshadow (including the original base) into the crease of your eyelid until the pigmentation begins to fade to give the smokey effect.


 6 - Inner Corners and Brow Bone
 Next I use one of my all time favourite MAC products which is the Vanilla Pigment. This is a very fine, pigmented powder in a shimmery snow-white. Taking the smallest amount of this on the end of the Real Techniques' Detailer Brush, blend this into the very inner corners of your eyes near your nose and then sweep a slightly larger amount on your brow bone, particularly beneath the arch. This will make your eyes seem bigger and brighter as well as creating a light to dark effect, and also making your brows appear more shapely and prominent. I recommend filling in your brows if you want to do this as it looks better overall.


7 - The Smokey Wing
 Now onto the smoke. Using a black eyeshadow - here I have used Blackout with a hint of silver sparkle running through it, I am blending this into the very outer corners of my eye where it meets the Sellotape. Make sure to blend this into your eyelid crease as well so it's not just a patch of black on the side of your eye.


8 - The Eyeliner Wing
 Keep the tape still in place and select your liquid liner. I'm using Revlon's Colorstay which I love, as it has a strong nib and produces a smart black line. Draw this carefully along your lash-line and wing it out where it meets the Sellotape. Don't make the line too big or bold as you want the eyeshadow to be the main attraction. This wing just adds an illusion of thicker eyelashes and gives a gorgeous cat-eye effect. With another black eyeliner - here I have used LorĂ©al's Superliner which is a black crayon, line your waterline to make your eyes look darker. For a smokey look black is definitely a must have. After you have done this, you can carefully peel off the Sellotape and you will have a perfect wing.


 9 - Eyelashes
To finish off, I recommend using eyelash curlers. They may look quite scary but they're really quite easy to use - here I have used the No7 ones. This'll make your eyelashes face upwards rather than forwards, allowing them to look fuller. Next take your favourite mascara, mine is Benefit's They're Real! and fill in your lashes using a zig-zag motion to create volume. Make sure to do your bottom lashes as well as this will really bring out your eyes. Feel free to add false eyelashes if you want to make your eyes even more dramatic.


 10 - The Overall Look
And you're done! Additionally, to complete the look I recommend a nude lipstick (I used MAC's Creme Cup, you can see what this looks like and other lipstick ideas in one of my previous posts, MAC lipstick guide) and bronzer rather than blush as you don't want to draw the attention away from your eyes and remain using subtle but striking shades.

I hope you enjoyed this post and apologies again for not having photos of me showing the steps! If you do try this look I'd love to see, so feel free to tag me on Instagram - @ellieeveleigh.

Sunday, 16 February 2014

HAIR HISTORY, STYLING AND CARE


My hair has been though many stages during my life so far, and I've decided to share this experience with you. I often get numerous requests about how I style and treat my hair, so I thought adding an extra bit of history seemed like an interesting idea.

When I was little, I used to have a bob (yes, a bob) of straight brown hair which rested at the height of my chin. I was quite chubby when I was little and now coming to think of it I kind of resembled a malteser, haha. My hair grew down to my waist and was very straight, shiny and fine around the age of six or so, which is quite a contrast to what it's like now. I then went through a stage of curly shoulder length hair with a block fringe which rested just above my eyebrows. I should've really inserted some embarrassing pictures for your entertainment, right?

At around the age of fourteen I decided I no longer wanted a fringe or short hair. I decided I was to grow my hair out. It took me two to three years to grown it to the length it is now (down to my belly button originally, but I've had it trimmed recently). During those few years I went through phases of curtains, backcombing it, quiffing it and many other weird styles which I still regret to this day.

Now I'm going to answer some of your most frequently asked questions:

How do I keep my hair in good condition?
I wash it using two or three shampoos, which are shown in the blogpost My Hair Care. I use a more sensitive shampoo on my scalp and roots, then Herbal Essences' Beautiful Ends Shampoo/conditioner on the ends of my hair. If I have time I also use a John Frieda Enhancing shampoo which emphasises highlights in my hair (I love it).  I wash my hair three times a week, as washing it everyday is effectively washing off the natural oils your hair produces, therefore your hair begins to produce a larger quantity of these oils which is why the hair turns greasy quicker - and nobody wants that!
Once washed I towel dry it and then apply Argan Oil on the ends to add silkiness and repair any split ends, then generously spray heat protection all over my head.
I let my hair dry naturally and only use a hair dryer for a few minutes so it's not soaking wet so I'm decreasing the amount of heat I use on my hair.

How do I style my hair?
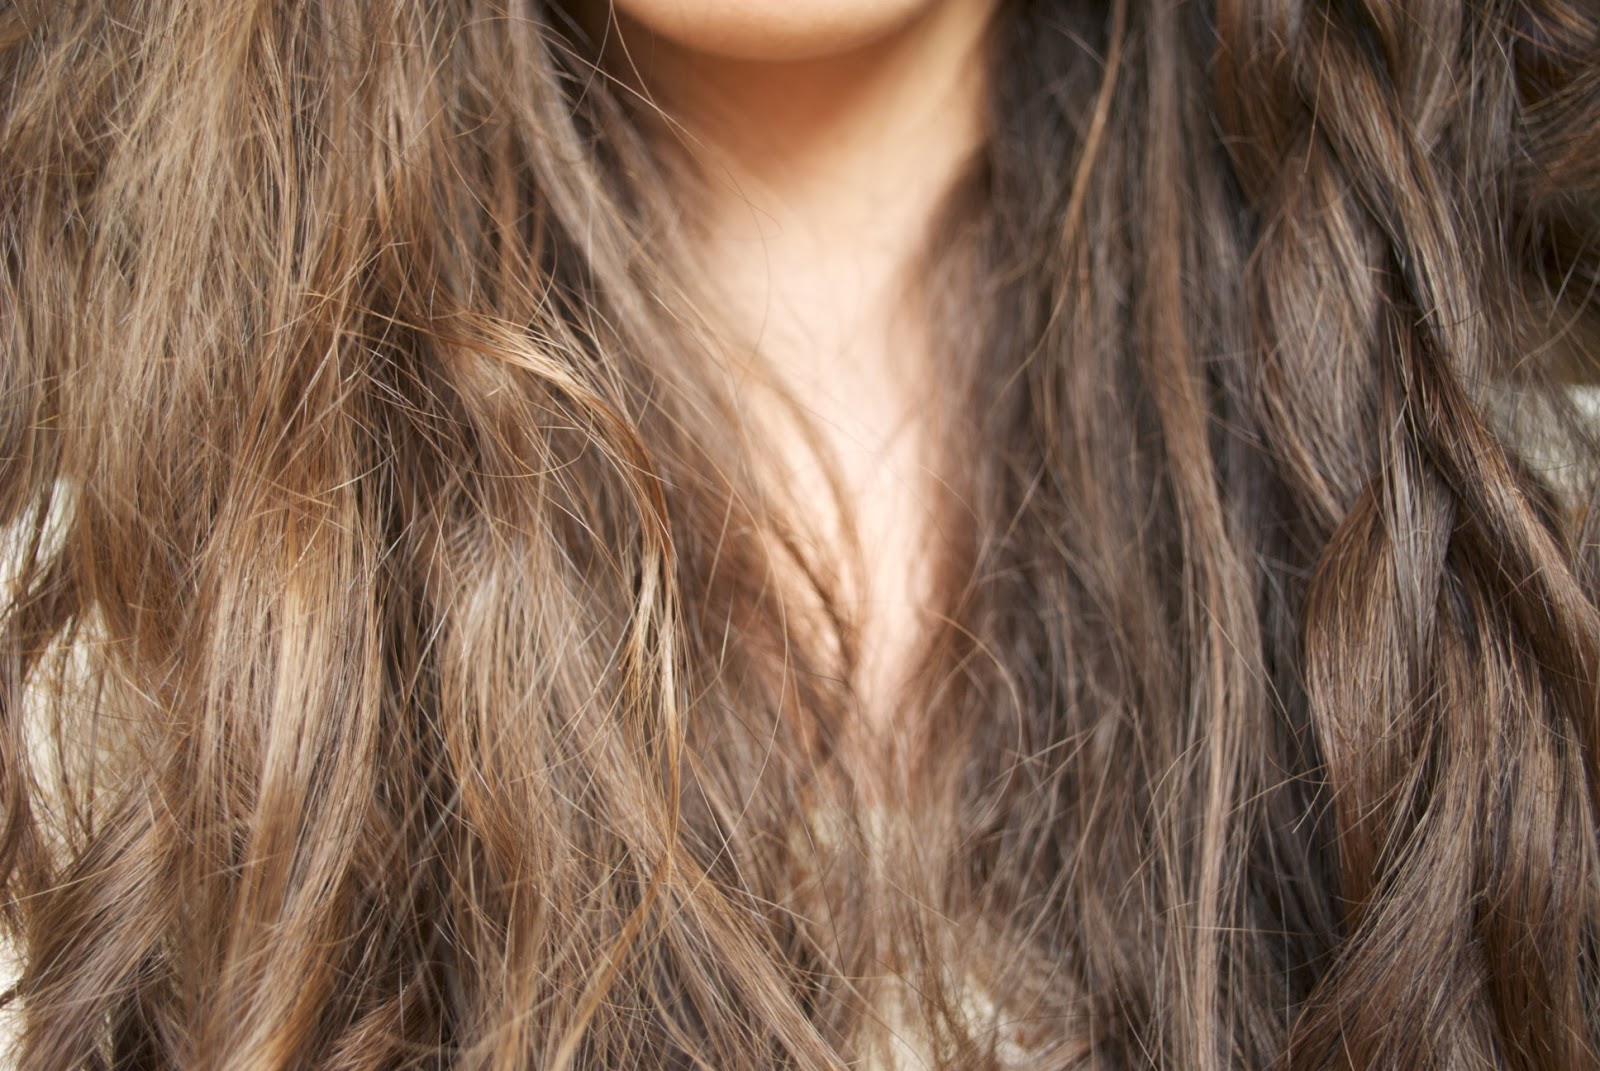
I get asked this a lot. It varies, dependant on what mood I'm in, however my general everyday hairstyle is the one shown in the pictures above (my hair is actually darker but the photos seemed to have made it look lighter than it actually is!) For this I simply leave my old fringe down (which is now chin-length) and tie up my top layer in a sort-of pony tail, leaving my bottom layer down. Next I pin the ponytail forward using grips so it rests on my scalp and half the hair, bringing bits of it either side and securing them. Then with the fringe I take it to one side and plait it loosely, giving the illusion of curls. Then with a strand of hair from the opposite side of my head I plait it and pin in across where my fringe hairline is and secure it on the other side.
My favourite 'hair look' is definitely curls at the moment. Not corkscrews, but natural beach waves with the occasional ringlet. I use my Keratin curlers which I highly recommend because they are so good and even come with a heat protection coating on the rod. I've also reduced the amount of times I straighten my hair because I've found that although it tames the fuzziness it increased my amount of split ends. Admittedly I still do it occasionally but as Spring and Summer are approaching I prefer curls a lot more on me.

How did you get your hair so long?
Luckily my hair does grow quite quickly, so I can't really offer much advice on how to make your hair grow quicker other than maintaining it well and getting the ends trimmed two to three times a year. My hair is also naturally very thick so it does seem to grow wildly. My tips would be to not tie it up too much, especially tightly because this can stretch the roots which may damage your hair growth, and DO NOT apply heat when your hair is wet or even slightly damp, this is very damaging.

I hope this post was helpful!

Sunday, 9 February 2014

AMBITIONS, DREAMS AND PLANNING

Photos taken from Google Images.
Dreaming
We all have those moments when we're leaning on a pile of work, gazing out of the window at the cloudy grey sky with flecks of rain beginning to appear on the glass. When all we want to do is...well that's just it. We want to do what we want to do. But at that moment you can't, because you have that essay in for tomorrow, you don't have the money, you feel like your life is out of your grasp.

But fear not. If you really work for something, you can achieve it. Never tell yourself you can't because you can, you're just taking your first steps. I have many life ambitions, and recently daydreaming about them during my science classes has become quite a habit. I don't want to waste precious time writing about things I feel I won't ever use in life, I want to be out there, I want to see the world. But now I know working hard will get me there. Sure, you can drop out and go travelling, but I feel if I've worked my way there, there's more to achieve. By working I can get a job and earn money which can take me to all these amazing places over time.

Ambitions
So what's on my bucket list? As shown above, these are the six main things I want to do in my life:

Hawaii
I have wanted to go to Hawaii ever since I can remember. Not only is it a cluster of islands in the middle of the Pacific, but it has some of the best night skies in the world, observatories, active volcanoes, beaches, marine life and some species of plants that aren't found anywhere else in the world. Amazing, right?

Bora Bora
I have recently been craving this Pacific island. Home to one of the best hotels in the world, Bora Bora has water bungalows, infinity pools, meals in the lagoon, marine life and rainforests.

New Zealand
Another truly stunning place of mountains, lakes, forests, beaches, beautiful landscapes, springs and volcanoes.

New York
A place of manmade beauty. It has been an ambition I have always dreamt of for seeing sites, shopping (in particular), fashion shows, the Statue of Liberty and city lights.

The Aurora Borealis
Otherwise known as the Northern Lights. Something that is a definite ambition and that I feel I wouldn't be complete without seeing them. Charged particles from the Sun's solar flares which break through the magnetosphere of the earth at the poles. I am very keen on astronomy and to see something this spectacular would be unreal.

Festivals
Quite random, yet I've often seen camera adverts where people are taking pictures of festivals of colour or light. And there are festivals like this, and I would love to be part of a huge gathering of people celebrating music, culture and colour.

Planning
All of this might seem impossible, but I'm going to really work hard to reach these goals.
I love writing, fashion and exploring so I came up with the idea of becoming a travelling fashion journalist. I follow many bloggers who travel, write, go to fashion shows and this is what I would love to do as well. I have already planned a lot of my future, such as courses, universities and ambitions. So if you feel like you don't know what to do or where to go in life, don't worry about it. It isn't worth worrying about, just see where time takes you. Think about things you really enjoy, things you know you'd love to see/do/be/use in life. Don't feel the need to do what's expected, do what your gut tells you (I feel as if I have written about a dozen tumblr-sounding quotes in this post, sorry!) Planning isn't essential, but it is useful. It's good to have some guidance in your life instead of relying on momentary ideas. But if you are stuck, write these momentary ideas down. You can then combine all of them to come up with a sensible idea as to what you want to do or be.


I hope this post inspired you! So what's on your bucket list?

Sunday, 2 February 2014

A SENSE OF SPRING

Textured swing coat - Topshop, dress - Topshop, bag - Forever 21, watch - Michael Kors, rose quartz pendant - Delilah  Dust Jewellery, lipstick - MAC's Pink Nouveau.

In one of my recent posts, Into Spring style guide, I showed you a range of garments which I recommended for Spring time. So I thought, on this chilly Sunday morning, I would get up extra early to go out and have a quick photo shoot of these outfits for you lovely people (typically when I arrived home, the sun came out... haha).

But overall, a success! You can now see what items I have put together to make my ideal Spring OOTD. I have always been a huge lover of mint green (can you tell?) and pastel colours in general, so piecing this outfit together was great fun to suit the upcoming season.

I hope this post helped you and inspires your Spring wardrobe!

Saturday, 25 January 2014

SPA DAY


Being my first time to a spa, I was excited about having a day of pure relaxation and refreshment. It was a day for my friend's sixteenth birthday, and what a lovely one it was too.

Unfortunately, and I do apologise for this, I don't really know the exact location of the golf club other than it was called Oasis Leisure and I was unable to take many photos because we were constantly occupied - sorry! It was a lovely day which consisted of swimming lengths which really refreshed my lazy muscles, lounging in a bubbling jacuzzi and briefly sitting in the steam room (which in the end I found a little to hot and choking for my liking, but luckily my friends enjoyed it). We then dried off and had a spot of lunch in the restaurant, my favourite part being the desert of oozing chocolate brownie (chocolate is one of my greatest weaknesses).

My highlight of the day was definitely the massage. At first I felt a bit out of my comfort zone having oil rubbed on my back by a stranger, but after a few minutes of friendly chatting and soothing music I soon drifted off into a world of my own, the everyday pressure and stress on my back being completely lifted. These times of pure relaxation, even if it's just having a hot bath or lying down with a dim light surrounding you really mentally relaxes you, which is something I highly recommend to anybody.

Lately, I have also really been into exercise and health, however please do not confuse this with dieting! I am aiming to build up muscles and tone/definition, not lose weight, because although I am very slim I feel the need to apply a bit more shape and strength to my figure. I have also been drinking a full glass of water every evening after weights (currently starting on 3kg), squats and sit-ups. Not only does this hydrate me but has greatly improved my skin and general feeling overall. I aim to keep this up for as long as possible because it has been making me feel a lot happier and healthier than I have in a long time!

Sunday, 19 January 2014

INTO SPRING STYLE GUIDE


I am aware it is only late January, but already I'm wishing it were Spring so I can get out my pastels and florals. But, since it's not quite there yet, I thought I'd write a blogpost about it instead.

So for each season there's always a trend; Winter/Autumn - dark reds, purples, tartan and fur, Spring - pastels, florals, corals and Summer - floaty florals, aztec, flowers and flesh. After Christmas, Winter always seems a bit rubbish now that the festivity has gone, so I think an 'Into Spring' post is good for lightening the mood. I've chosen a selection of clothing from my wardrobe (shown above) for what I think is perfect Spring wear. My aim of this post is to offer you ideas on what to wear this season and my personal picks.

Clothing
Because Spring isn't exactly warm, but still the sprouting of flowers and clear skies, pastels and florals are perfect for this season. I like the idea of wearing a dress with tights and a pale coat, because you're providing layers of cool, then warmth so you can apply or lose layers dependant on the weather. I might even wear a hat because it contrasts with the cooler clothes you're wearing therefore complimenting and enhancing your overall appearance (it's always good to stand out for the right reasons).

Accessories and shoes
In my opinion its a necessity to compliment your clothing choice with accessories. Whether it's a watch or a necklace - it always adds to the overall look. My favourite accessories are my Michael Kors watch and surprisingly phone cases. That might sound a bit strange but when you take out your phone to reply to a text or check your social network feeds, a case that compliments your outfit makes you look a lot more coordinated and unique. For shoes I think wedges, boots and flats look great in Spring. Unfortunately I can't give a range of examples because I have problems finding shoes due to having very slim ankles and feet, but I do recommend these. Browns and neutrals look most effective in Spring. All clothes shown are from Topshop and the wedges are from Jones.

Makeup and nails
I can't really be too confident on my recommendations for this category, because different shades will match your own personal complexion. But in my opinion, ideals for Spring would be neutrals and pinky corals for facial makeup such as eyeshadow, lipstick and blush (ones shown above are: MAC palette - Satin Taupe, Naked Lunch and Paradisco, Sleek Lace blush palette, Naked 2 palette, MAC Dame blush and for a MAC lipstick guide click here). I have always been a massive fan of a good facial sheen, my current favourite being MAC's Pink Rebel Lustre Drops which I use on my cheekbones and MAC Vanilla pigment which I use on my brow bone and the inner corners of my eyes. These are expensive but have lasted me since mid 2013 and amazingly aren't close to running out. Nail colours are always a must have for me, I hate having bare nails. Pastel shades of course are my recommendations for the Spring season.

I hope this post was helpful, I certainly enjoyed thinking and planning Spring 2014. I will hopefully get round to do OOTD posts so you can see what these items of clothing look like on.

Saturday, 11 January 2014

MAC LIPSTICK GUIDE


MAC lipsticks have to be one of my high street makeup guilty pleasures. I say I'm guilty because they cost £15 each which is a lot of money, but totally worth it in my opinion. I've come to the stage now where I won't be buying anymore for a while because I have a good range of colours and lipsticks aren't exactly necessities. NOTE: some of these were bought as christmas/birthday presents and they were all bought over time (oh, and I apologise for my chipped nail varnish).

So there's actually more to lipstick than just being able to pick it up at the counter and purchase it, which you might think sounds weird but we have to think about it in a more...artistic view. For example, complimenting and suiting your complexion. I can't say I'm lipstick guru, as I only own these eight as examples, but I have researched this and read about it in books. In other words, if you were putting on an outfit, you would put a pink top with green trousers would you? (The thing is I actually did that once, which is ironic really!) So here is my short guide to lipstick complexion:

If you have...

Brown/hazel eyes and brown hair (like myself)
Most colours suit, however I avoid really dark reds and purples as this will be a dark overload.

Blue/green eyes and brown hair
Pinks, corals and neutrals are my top pick for this look. In my opinion Costa Chic and Girl About Town would really compliment this complexion.

Brown/hazel eyes and blonde or mousey brown hair
Because you have an area of dark but also an area of light in your complexion, most colours will suit you. I might try and avoid really dark lipstick, this might look a bit gothic unless you're aiming for that style.

Blue/green eyes and blonde or mousey brown hair
Dark and light pinks, and orange-toned reds. Ones I recommend out of the eight above would be So Chaud, Costa Chic, Pink Nouveau and Candy Yum-Yum. Avoid neutrals - they might make you look washed out.

Brown/hazel eyes and ginger hair
Dark reds look lovely with this look, pinks and you could even throw in a few neutrals. Avoid orange toned reds, however, this might possibly clash with your gorgeous ginger hair. I recommend RIRI/Ruby Woo, Russian Red (not shown above) and Pink Nouveau.

Blue/green eyes and ginger hair
Reds, pinks and light purples. In all honesty most colours will suit this look, however avoid pale neutrals and really dark lipsticks, these can make you look washed out.

I hope this was helpful! Please don't think that if I didn't mention a shade it won't suit you, I could easily be wrong, this is just an overall idea of colours that best suit general complexions. I haven't included dyed hair because you should still place your lipstick shade around your original complexion, however if this doesn't work for you I suggest finding the most similar in the ones listed above.

So what are my favourite and least favourite MAC lipsticks that I own? Out of the eight above, Candy Yum-Yum is my favourite because I love highly pigmented lipsticks and I find this one stays on a long time, and it's also a gorgeous barbie-pink. RIRI WOO is one I have found to stay on the longest however it is very matte which does tend to make my lips feel quite dry. My least favourite, which may seem like a surprise, is Creme Cup. It's a lovely shade however I am not fond of the Creme Sheens because although they are very moisturising I have found it doesn't stay on for very long and doesn't set. However I'm not saying to avoid them, for you they might work better.

Due to school work I'll only be able to post once a week from now on which is a shame because I love posting and receiving your lovely feedback.